Modern and Free Comments in a Blog: Integrating Giscus into Jekyll Chirpy

🇺🇦 Читати цю статтю в оригіналі українською
When your personal blog or homelab guide starts growing, a need for feedback arises. Readers want to ask questions, point out inaccuracies, or simply share their own experiences.
Traditional comment systems like Disqus clutter pages with intrusive ads and tracking scripts in their free tier, which spoils the minimalist aesthetic of a website.
Today, we will dissect the best free alternative for tech blogs — Giscus. It is a fast and lightweight comment widget that uses GitHub Discussions in your repository to store comments.
Why Giscus?
- 100% Free: No ads, subscription fees, or hidden costs.
- Privacy-Friendly: No tracking scripts or trackers.
- Developer-Friendly: Supports Markdown formatting, syntax highlighting, and one-click GitHub authentication.
- Great Aesthetics: Automatically syncs with the light and dark color schemes of your website.
- Interactivity: Readers can not only write comments but also leave emoji reactions under your articles (thumbs up, heart, etc.).
Step 1. Preparing the GitHub Repository
Since Giscus runs on GitHub Discussions, your site’s codebase repository must be public, and the Discussions feature must be enabled:
- Navigate to your repository on GitHub.
- Open the Settings tab.
- Scroll down to the Features section.
- Enable the Discussions feature by checking the box.
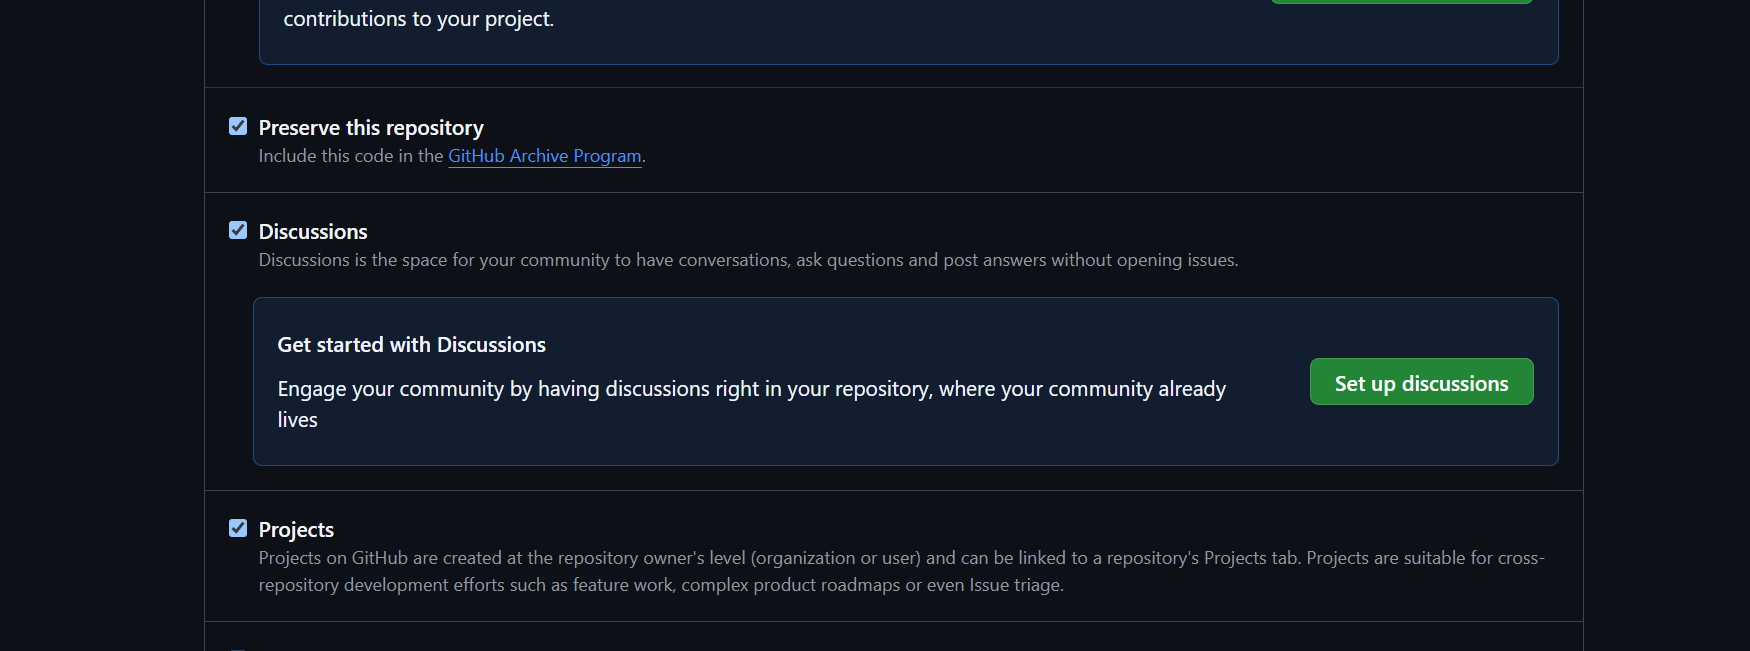 Fig. 1. Activating Discussions in Repository Settings
Step 2. Installing the Giscus Application
Now you need to grant the service permission to create discussions in your repository:
- Go to the official app page: github.com/apps/giscus.
- Click Install or Configure (if already installed).
- Under repository access, choose Only select repositories and specify your blog repository.
- Click Save.
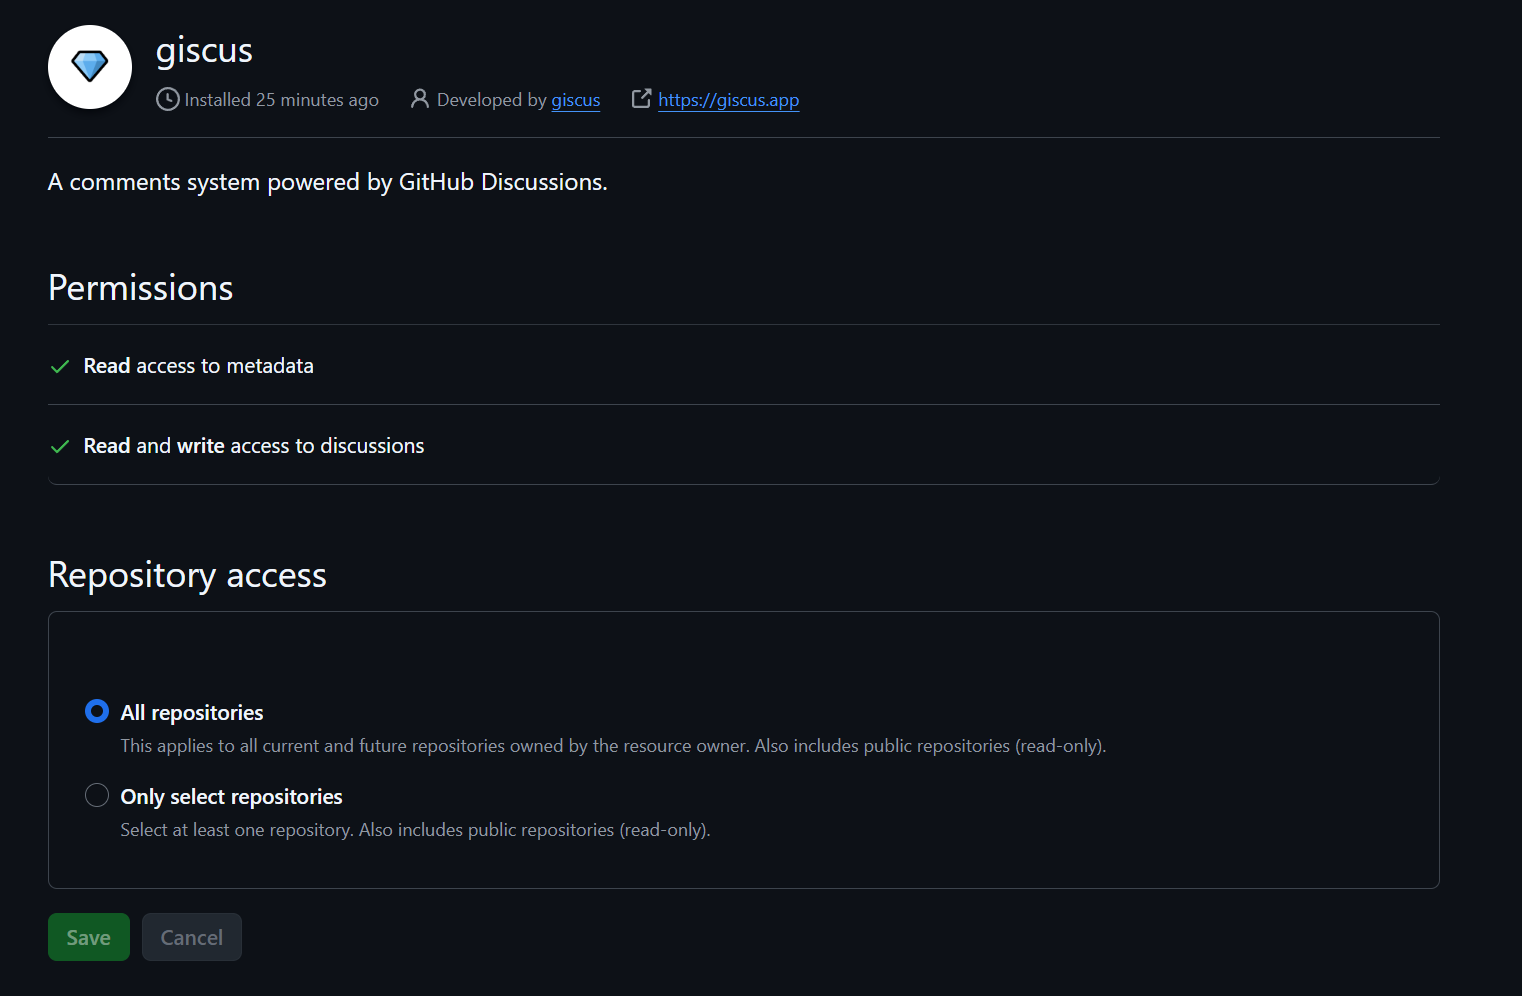 Fig. 2. Configuring Giscus App Access to Blog Repository
Step 3. Retrieving Configuration Keys
- Go to the configurator website: giscus.app.
- In the Repository field, enter your repository path in the format
username/repository(e.g.,username/my-blog-repo). - In the Discussion Category section, select the category for comments — it is recommended to use Announcements or General.
- Scroll down to the Enable giscus block. The configurator will automatically generate your parameters. Note these fields:
data-repo-iddata-category-id
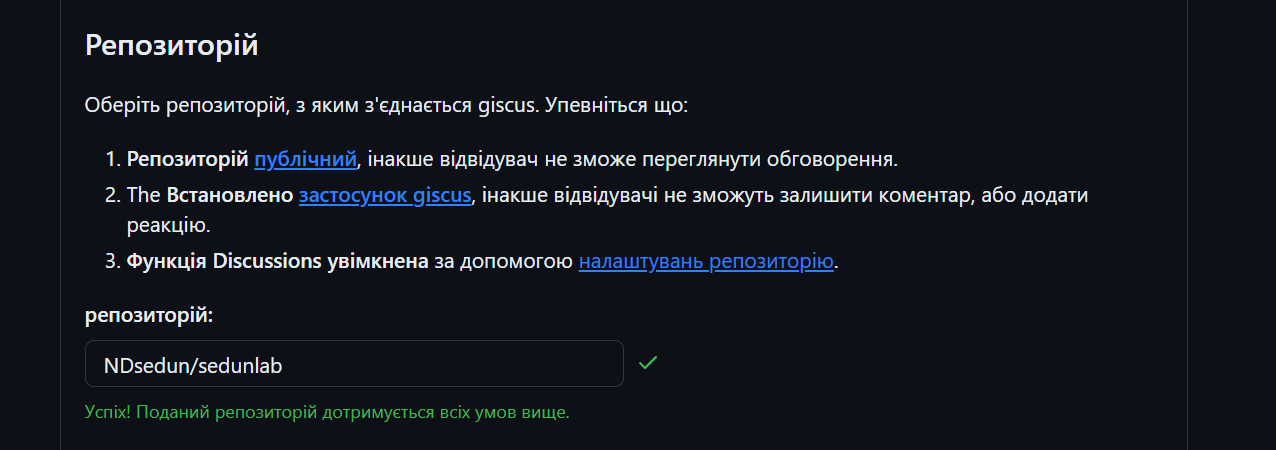 Fig. 3. Generating Identifiers in Giscus Web Configurator
Step 4. Configuring Comments in Jekyll (Chirpy Theme)
The Chirpy theme has built-in support for Giscus. You don’t need to manually insert JavaScript code into layouts — simply define the retrieved parameters in your site configuration file.
Open the _config.yml file and configure the comments block as follows (replacing values with your unique repo_id and category_id):
1
2
3
4
5
6
7
8
9
10
11
12
13
14
comments:
  # Activating the comment system
  provider: giscus # [disqus | utterances | giscus]

  giscus:
    repo: username/my-blog-repo # Your repository path on GitHub
    repo_id: R_kgD...            # Your unique repository ID
    category: Announcements     # Chosen discussion category name
    category_id: DIC_kw...       # Your unique category ID
    mapping: pathname
    strict: 0
    input_position: bottom
    lang: en                    # Default comments interface language
    reactions_enabled: 1
Save your changes and deploy them.
Conclusion
Now, at the bottom of every article (unless comments: false is defined in its frontmatter), a modern, secure, and fast comments block will appear. Readers will be able to log in using their GitHub account, write Markdown comments, and leave emoji reactions. And since all discussions are stored directly on GitHub, you maintain full control over your comments!